With glass, I firmly believe that you can’t completely fall in love with anything you make until it’s out of the kiln. It’s a sure fire way to curse your work, and part of why I love glass so much. Beads in particular fascinate me, and so when the Calontir Clothing Challenge opened up, I decided to make some to give as a prize. What follows is some more information for the Queen of Doom’s Prize.
As mentioned here I needed to buy ceramic blankets and start using my hothead. Well, I bought the blankets, and a nice little marver for the hothead, but I’m also back at Sonoran Glass usually once a week and using their setup. It’s hotter, faster, and when things break they do so sometimes quite impressively.
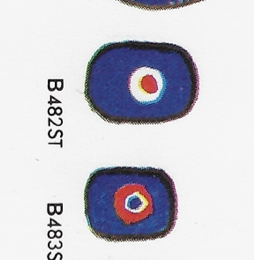
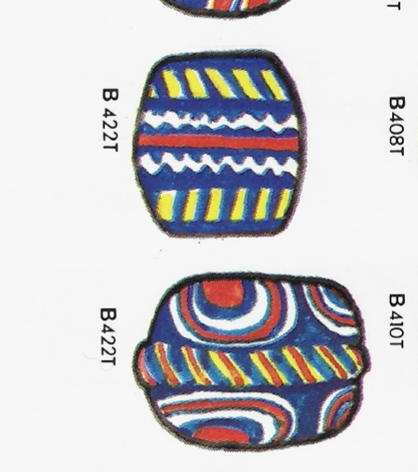
Glass beads are something found in a wide variety of cultures and time periods. In general, I’m interested in those found in the Scandivanian regions in what would be considered the ‘Viking’ era. Caller’s Trade Beads and Bead Trade in Scandinavia is an excellent source for inspiration, and I drew from the descriptions there.
To make glass, in an incredibly simplified manner, one mixes sand, sodium carbonate (usually potash), and calcium carbonate (like limestone) to a very high temperature and then add minerals to it to change the color. I oid not have the skills, materials, or time to make glass from scratch and so I’ve opted to purchase it. All my supplies are obtained from Frantz Art Glass. I used a mixture of their house effetre and the brand Creation is Messy. (All is 104 COE. COE being Coefficient of Expansion, which describes how much glass will expand and contract when heat is applied. Mixing COEs will mean that you run a higher risk of your work breaking at some point during their lifespan.)
In period, the mandrels (the rod you’re forming on) would have had a tapered end, but mine do not. The tapered shape means as both rod and glass cool, the different expansion rates will cause the bead to separate and it can be removed. Instead, to make sure that they are able to be separated from the rod they’re formed on, I use bead release. This is a product that when dry, forms a hard coating that can be broken to remove the bead when it’s cooled. One dips the mandrels in, lets it air dry, and then I usually will heat it to red hot in the torch flame to be sure that it’s totally dry before being washed.
Once your rod is prepared, you’ve got a heat source (I’m using a bench burner that runs off oxygen and propane), and the glass of your choice, it’s time to make the glass. The material is gathered onto the end of a rod, shaped using heat and the mandrel is rotated to keep the shape even. One of the most important things to remember is that you want to avoid sharp edges, so keeping it all smooth and even is vital to being able to use your beads later and not having them damage the material they’re stung on or something else.
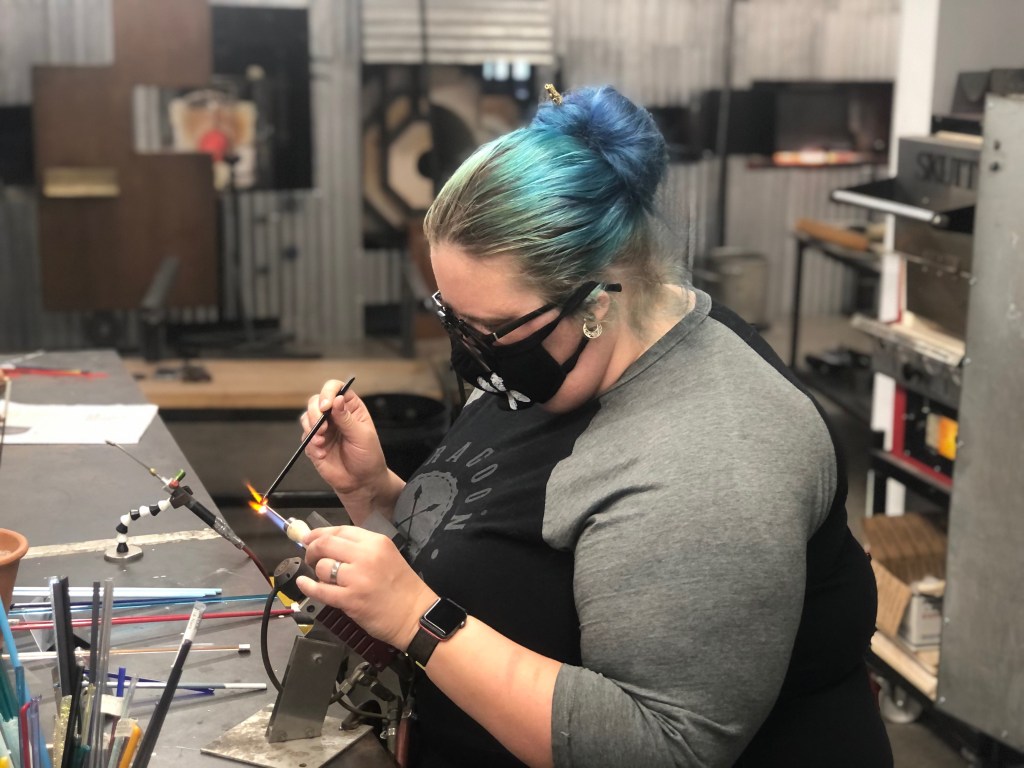
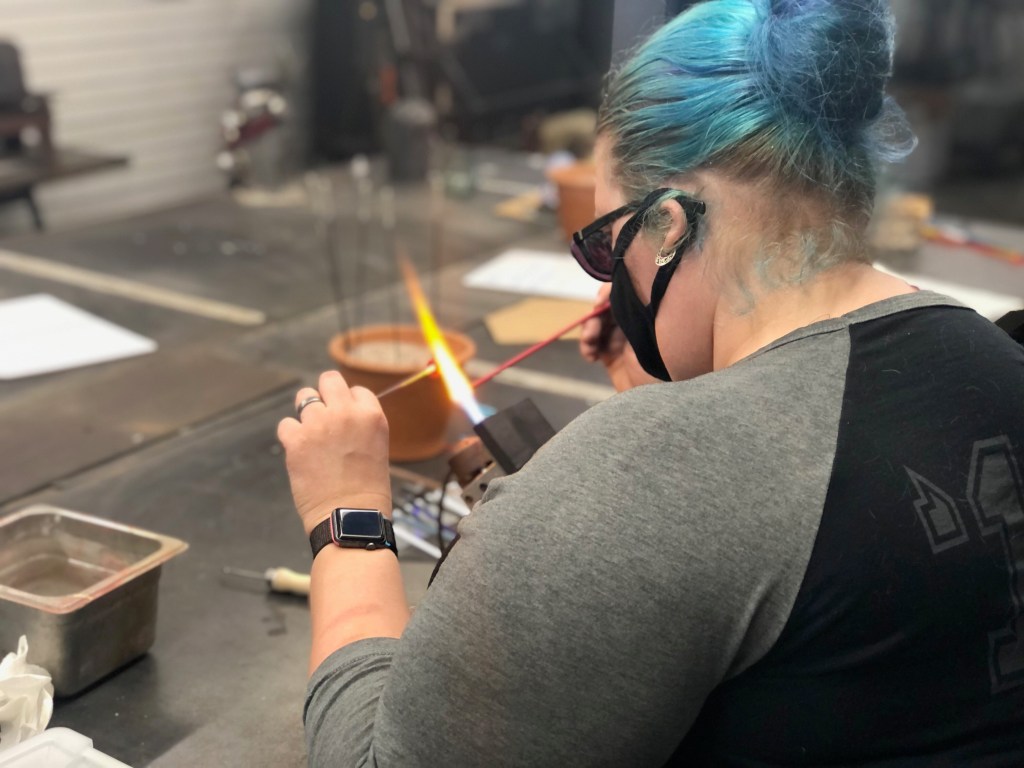

The small, thin, lines are stringers that I made by heating both a scrap of glass and the end of a mandrel until they were red-hot. I then pushed the glass and mandrel together and allowed them to cool slightly. This ensured that when I pulled the two ends apart, they did not separate. When secure, I pulled both sides apart, stretching them like taffy until a stringer formed. The speed used when pulling and the size of the mandrel used dictates how thick the stringer is. For the twisted designs on some beads, two colors of stringers were laid against each other, and then twisted to form a striped cane.
I tried heating the stringers before adding them to the piece, but they almost always melted back up into balls and failed to create the result I wanted. Eventually, I determined that I needed to heat the bead so that when I laid the stringer down, it would melt into the glass. The same principle applies for the dots – I would lap the tip of the glass at 90 degrees to the face of the bead, then pull it off to leave a spot. If multiple dots are needed, the pattern is repeated. Finally, the whole bead was heated to ensure a smooth exterior and placed into a kiln.
Using an electric kiln to anneal (make the beads hard and sturdy) means that once I’m done for the day, I can turn it off and it will automatically slowly cool to prevent breakage. Once removed from the kiln, I soak the beads and pull them off the mandrel. Then, using files, clean out the holes to ensure there’s no bead release.
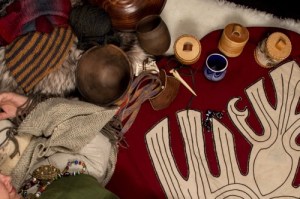
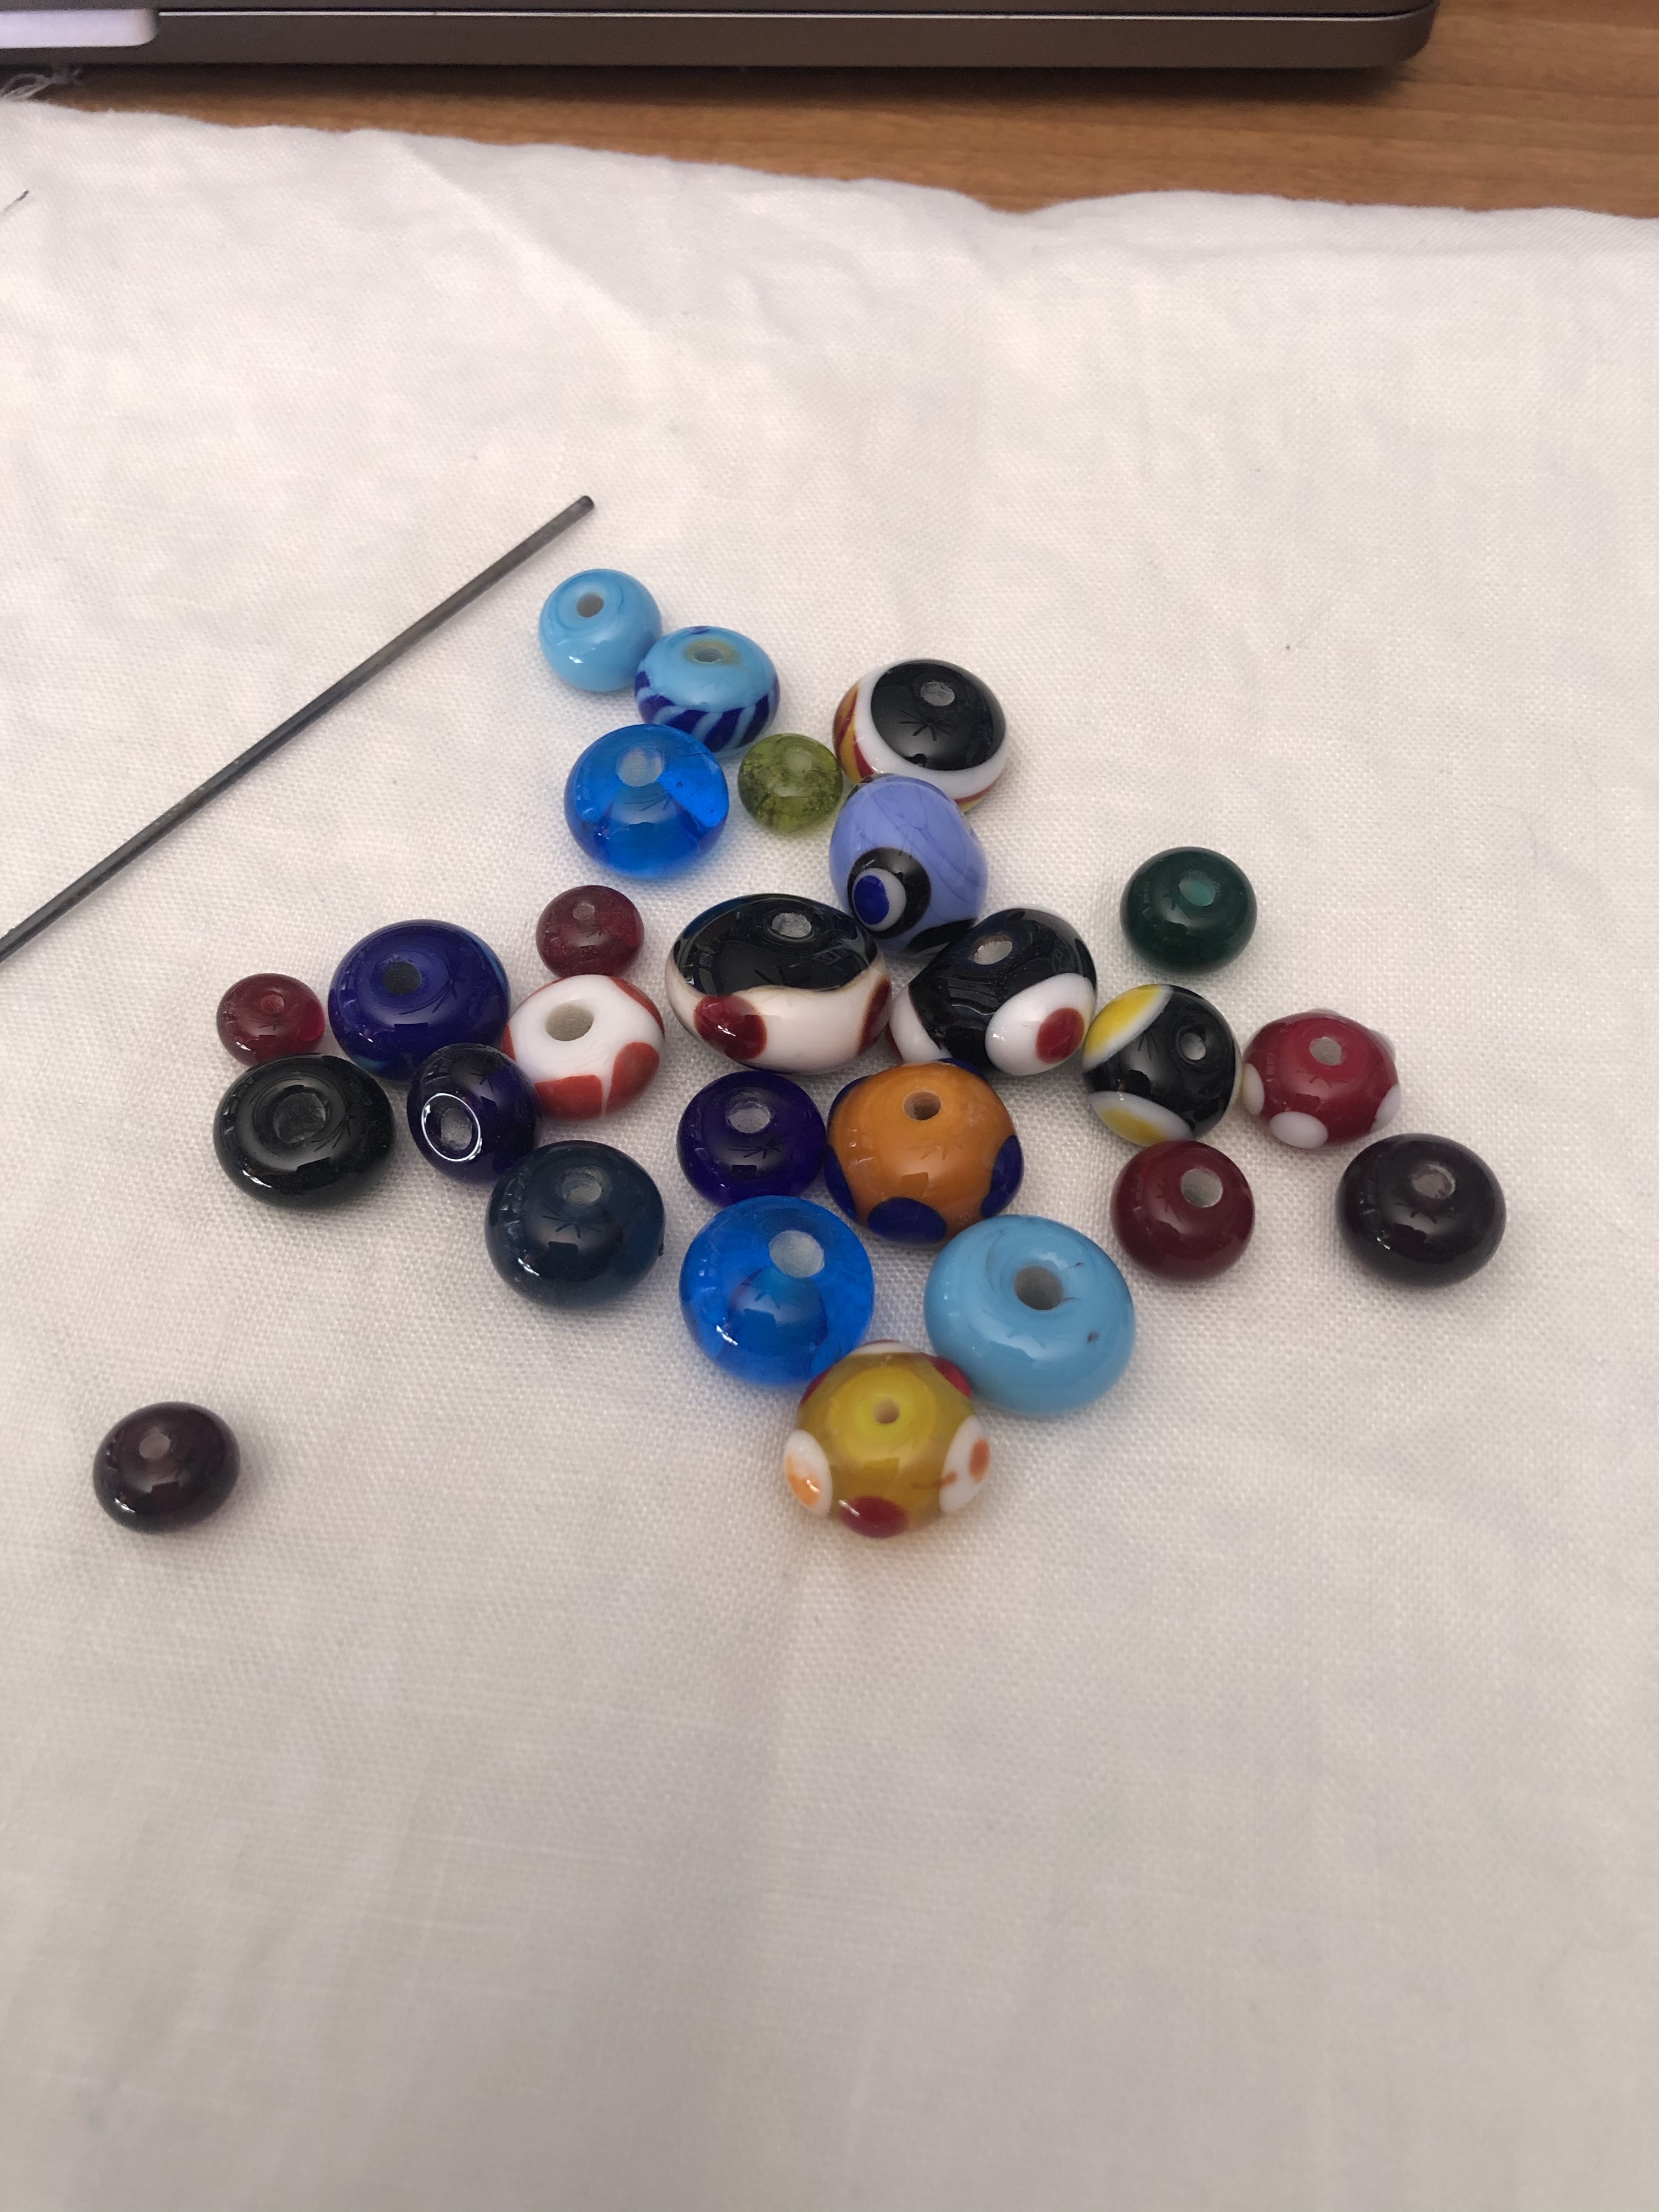
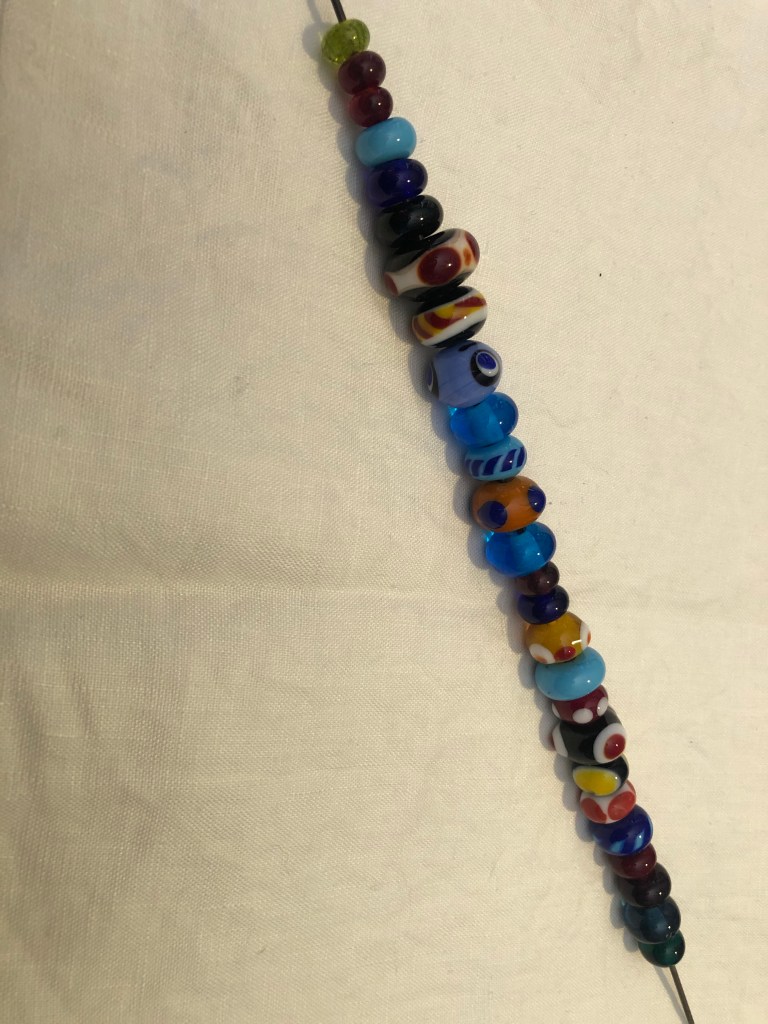
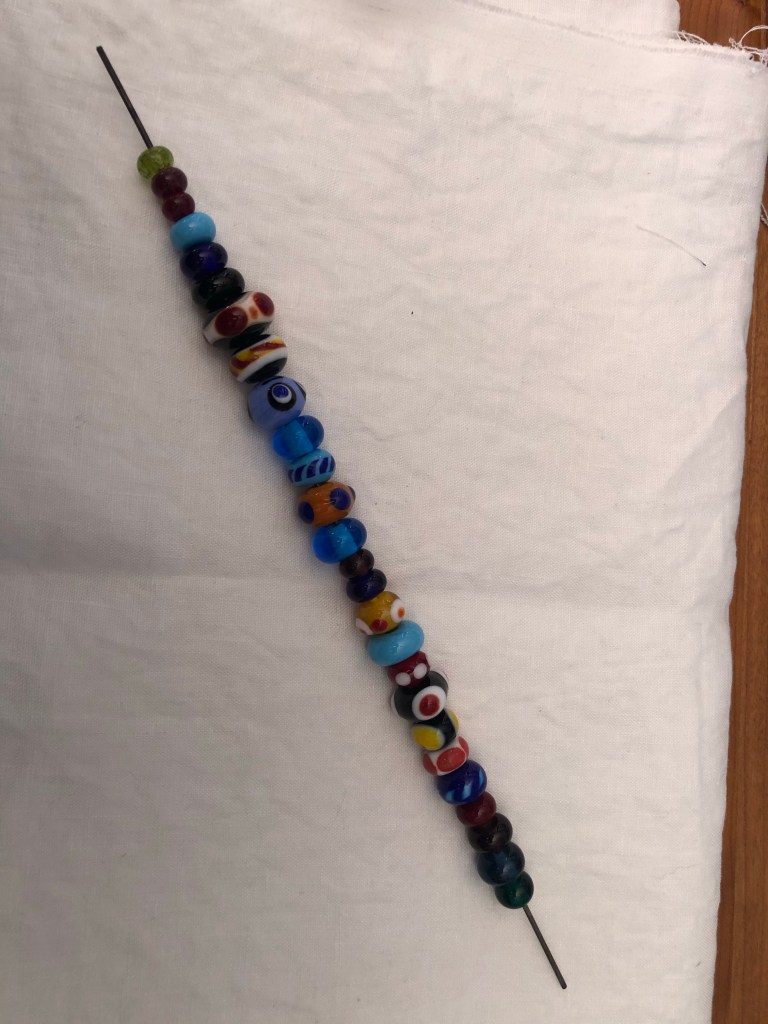
And now… behold! Some photos of the final products!

Bibliography
- Callmer, Johan. Trade Beads and Bead Trade in Scandinavia, Ca 800-1000 AD. Rudolf Habelt Verlag, 1977.
- Cummings, Keith. A History of Glassforming. A. & C Black, 2002.
- Küçükerman Önder, and Maggie Quigley Pinar. Glass Beads: Anatolian Glass Bead Making: the Final Traces of Three Millennia of Glass Making in the Mediterranean Region. Turkish Touring and Automobile Association, 1988.*
- Mentasti, Rosa Barovier, and Cunéaz Giuliana. Glass throughout Time: History and Technique of Glassmaking from the Ancient World to the Present. Skira, 2003.
- “Statens Historiska Museum.” Startsida, The Swedish History Museum, http://mis.historiska.se/mis/sok/birka.asp?sm=10_7.
- Whitehouse, David B., et al. Medieval Glass for Popes, Princes, and Peasants. Corning Museum of Glass, 2010.
