I’ve been promising this for too long, and here we go!
So, back in August, a request came to my Laurel that clothing be made for her sister-in-law, who was getting jump-laurelled. I was asked to make the hat, and while it’s been awhile since I finished any nalbinding, I was more than happy to do so.
With much cursing and frustration (I’ll be honest), the result is honestly one of my favorite things in the last few years.
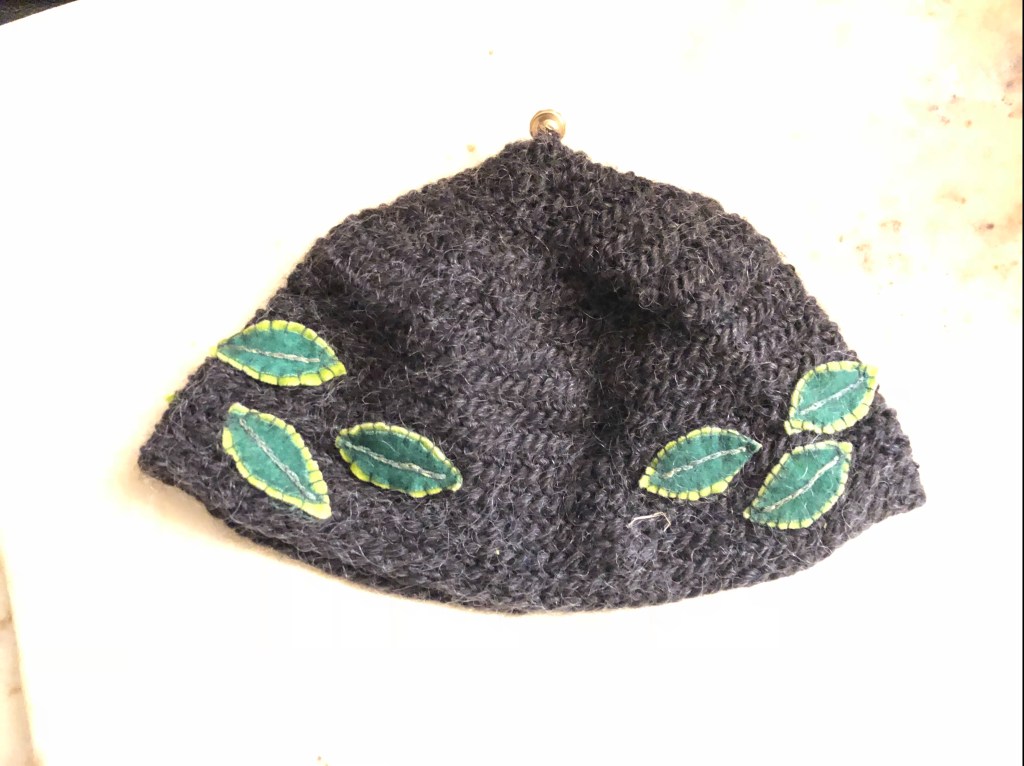
Now, this isn’t the first nalbound laurel hat I’ve made. The first one was actually done back in 2018 for a member of my household’s laureling. Deletha is someone I adore, and the project was very much an experiment that gives me joy.
For that one, I used a brown wool (likely from Brown Sheep’s Lamb’s Pride, knowing my taste) and I’d sewn down applique leaves on it made out of some wool I had lying around. The result is definitely something unique, that also stays true to the recipients tastes and style. I’ve seen a handful of photos of her wearing it since, and I’m always so happy to see it.
From the front. 
From the side.
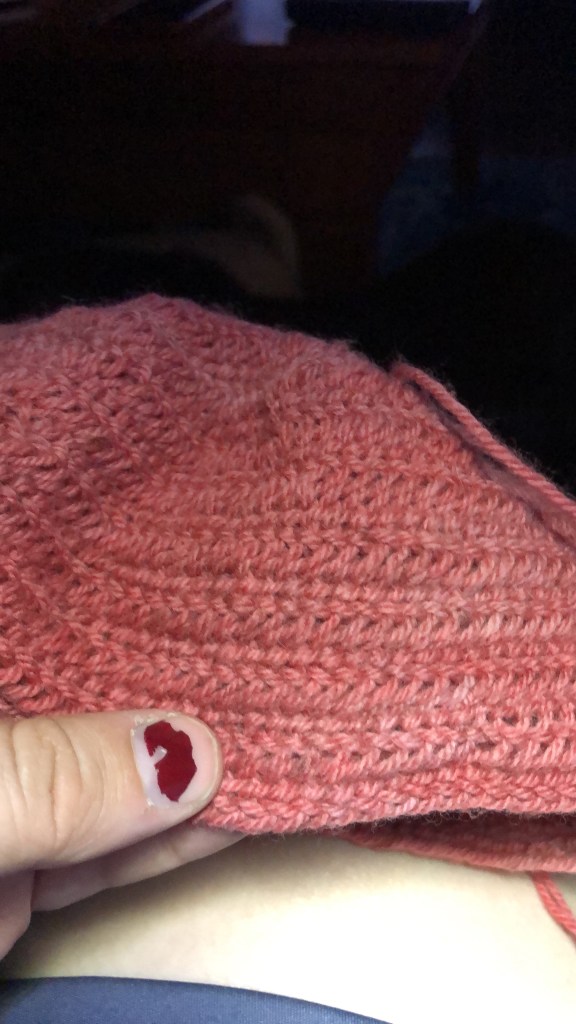
At this point, I was a few years from there, and as was pointed out near the end – this was something going out of kingdom. Plus, the recipient would probably be pleased with something that reflected my current interests in blending very traditional forms and styles with more modern things. Pink seemed a very appropriate color, and I had one from Farmer’s Daughter Fibers Sock Squad subscription that should work quite nicely.
We had a few options here, and the original plan was to embroider the leaves in green (more on that later), so the desire
Most people nalbinding do so with thickly-spun, single ply, yarn. Maybe two-ply, but you’ll rarely see stuff done in fingering out of a commercially made color. Fingering-weight is maybe a level of madness, and at least this didn’t have any nylon/tencel/etc which made splicing marginally easier. (Spincycle Yarns used to have a line called Independence, which was the absolute best… single-ply, worsted-weight, just enough thick/thin variation, and with a fade. I still mourn it.) I spoke awhile ago (in 2017, admittedly) about the basics of nalbinding, and the sentiment stands. Because in nalbinding you’re making a series of knots, and the result is a warm, somewhat cushy, item, heavier-weight fibers hold up better. (This is also why anything that doesn’t felt gets weird – you have to find a way to join pieces that’s smooth and the longevity will be a bit different because you don’t have the felting properties. My theory is that you’ll have a much better time with this if you do one of the much thicker stitches, where you’re picking up multiple loops. Still wouldn’t recommend socks, though. You’re putting that much work into it – make an epic hat. Silk blends are luscious.)
For this hat, I decided to try a stitch I haven’t done before, Dalby, which is one of the least complex of the russian turning stitches. With this particular family, you have a series of loops, and instead of mainly working off the stitches on and behind your thumb, you are also adding loops that are picked up with the needle at what would be 9 o’clock, instead of the normal 3 o’clock (or so). This means you’re collecting the stitches and then turning the needle, and then picking up the rest of them in another pattern.
I swear, it’s easier than it sounds. You just want to watch someone do it a good dozen times.
I love how it looks. 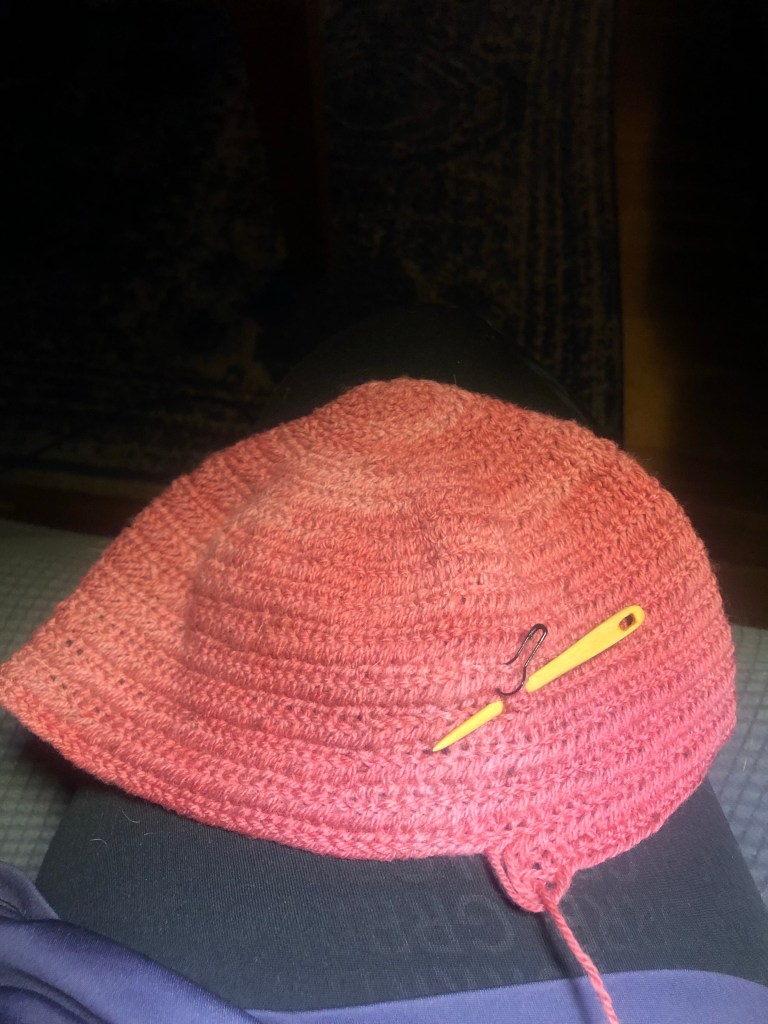
The shifts in color really look great in sunlight. But my OTT lights work as well.
Now, the original plan was to do embroidery on the hat. This would have had some very notable advantages over the later choice of appliqué – namely that embroidery can move much more freely. Because you’re using something with the exact same move in all directions, you can easily add it to the existing stitches and make it look like part of the original color. (At some point, I really do want to try essentially stranded/fair isle nalbinding. Just on a lark…) The downside, however, was the fact that I had chosen to make the hat with such a thin wool meant that the hat wasn’t quite thick enough to really hold the stitches in place and look decent, no matter how I tried. I confess, had different choices happened and more time been a thing, it would have been doable.

Just not quite right. 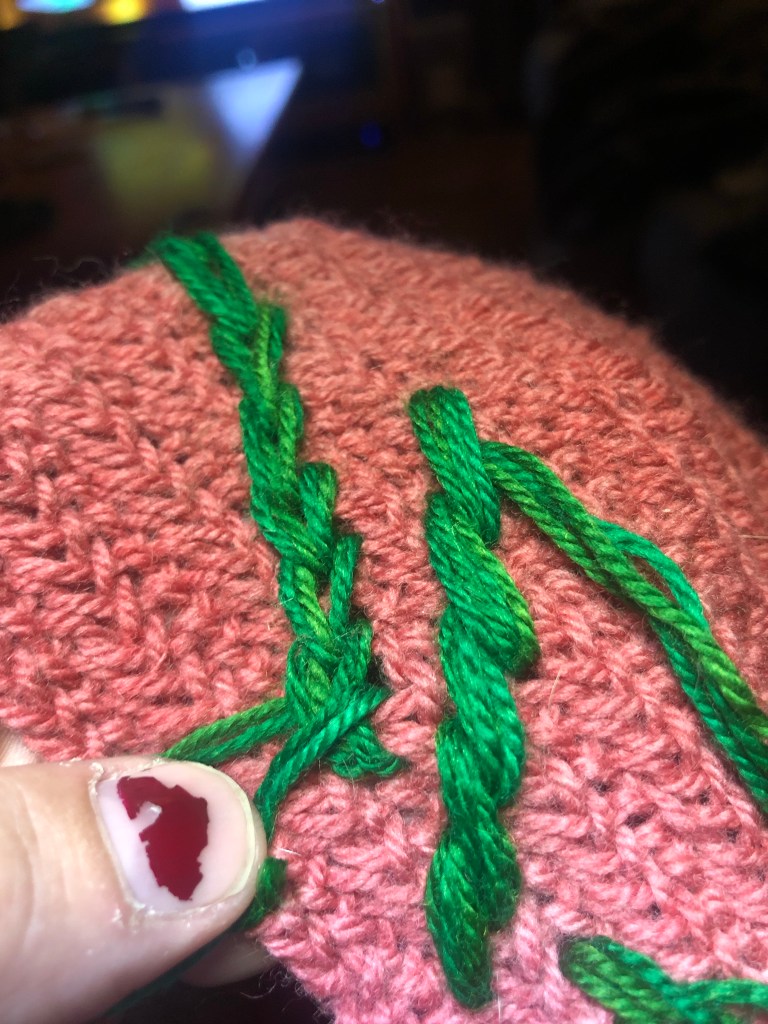
No matter how I tried. 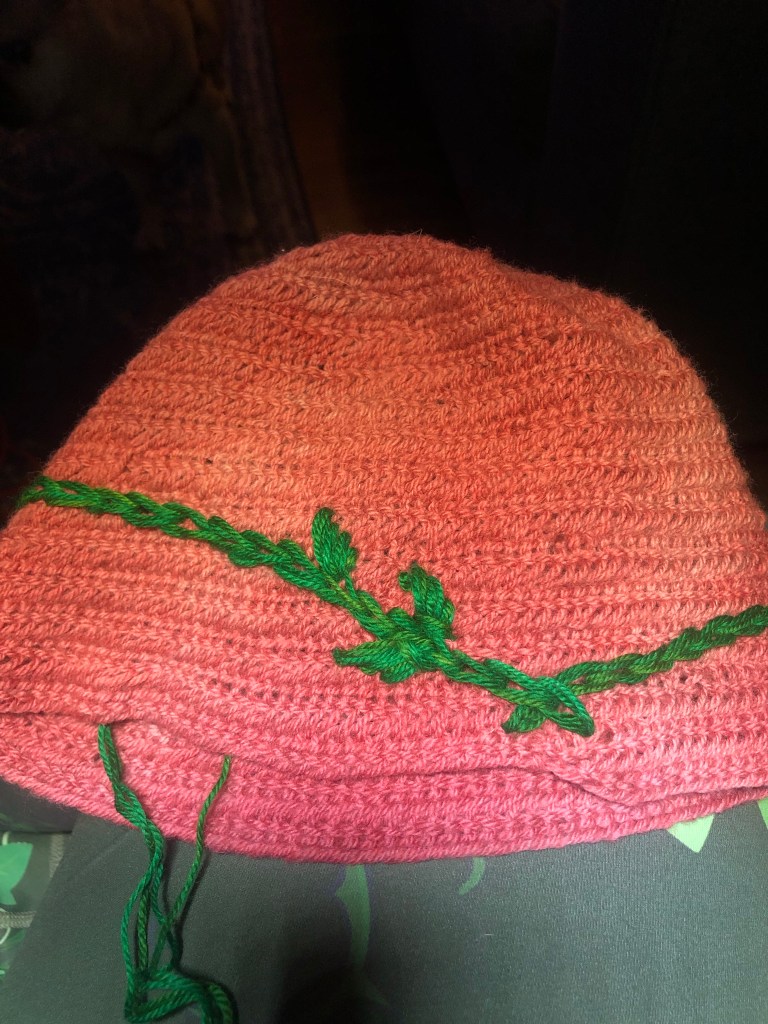
But we still should share and talk about the mistakes.
With Plan A clearly not going to work for the epicness that was planned, it was time to come up with Plan B. There’s a selection of wool hanging around the house, and the white would look quite nice as a contrast. (The white used was a flannel from B Black and Sons. Incidentally, it’s also the color used for the ravens the household cloaks. A pleasant way of linking family in a roundabout fashion.) For the green thread, it was time to stash dive. I happened to have 100% silk thread from The Thread Gatherer in Green Leaves and Chartreuse.
We come at this point to the facts of applique on nalbinding. It’s multiple steps, it may look a little weird, and you’re better off knowing you’re going to do it from the start. You’ll want to make sure that you are aware of the fact that you’re putting large pieces of essentially immobile elements on top of something that is very much mobile. The stretch that you expect to have as part of nalbinding will not be there. I was lucky, the final hat was almost the exact size of the recipient’s head, so I didn’t need to worry about it.
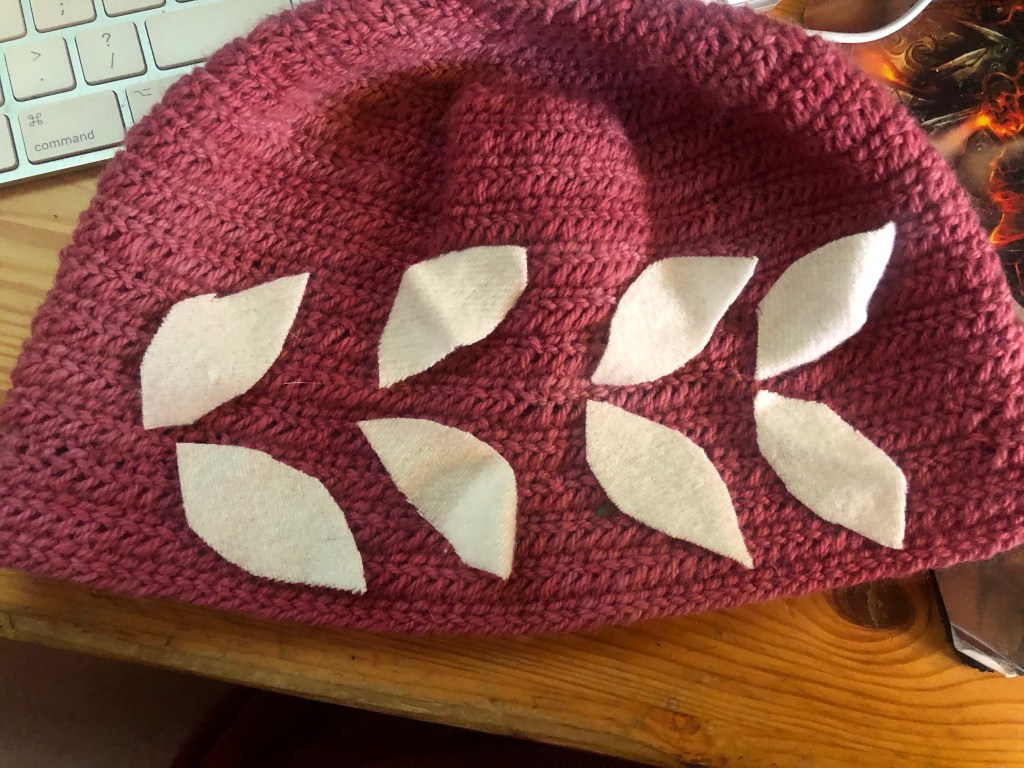
Laying out the pattern. 
Pinning down – all hail blocking pins. 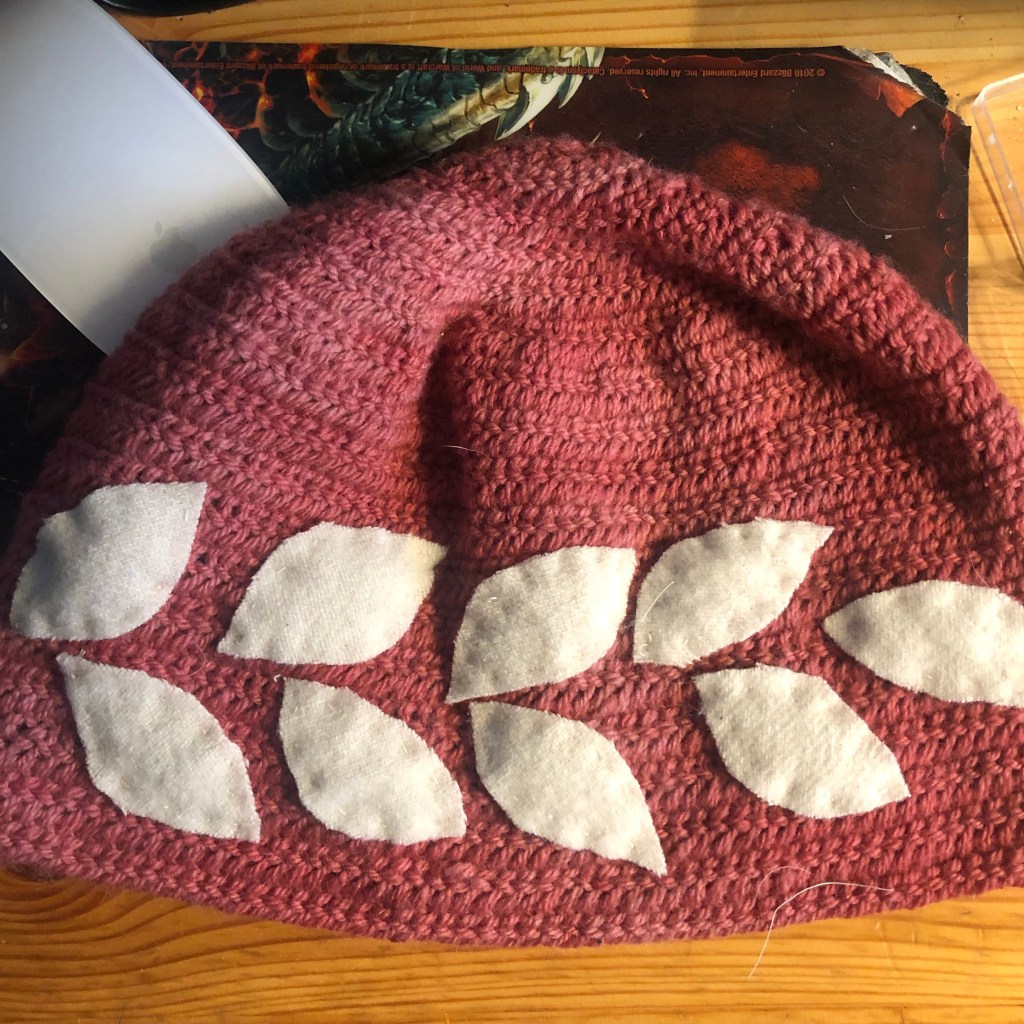
Basted down.
Above, you can see the process for the initial leaves. I eyeballed the size, and then cut out a few in scrap. Making sure that they were the right size, I then cut them out and laid the elements on the hat to get an idea of how they’d all fit on it. Once that was done, they were basted down and I toted it off to Ian’ka’s to get an in-person opinion. We determined some weren’t even, so had to take out the basting stitches and redo them. I used a really loose/wide running stitch, just something to make sure that everything stayed put and I could see how it all sat.
At this point, I really was willing to let it be finished. I mean, sure, I’d clean up the edges, but it would have worked out in the end. As was rapidly pointed out – this wouldn’t do. So time to haul out the embroidery silk.
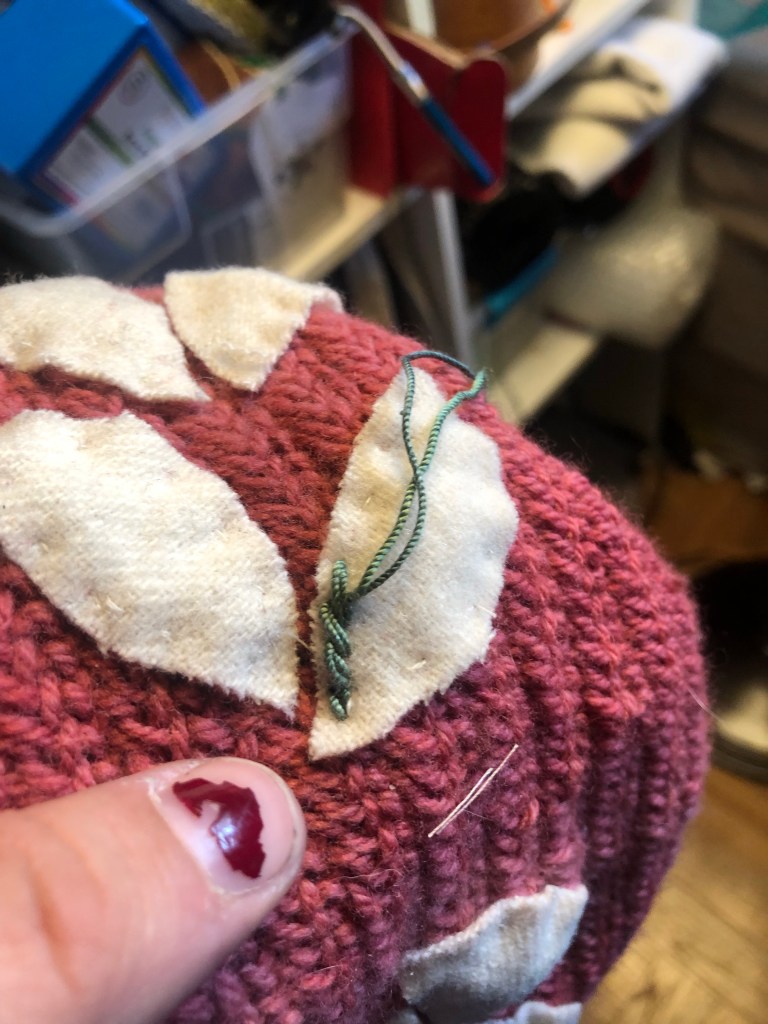
Tiny thread on a loose fabric – nope. 
It needed more color, yes, but that wasn’t how to do it. 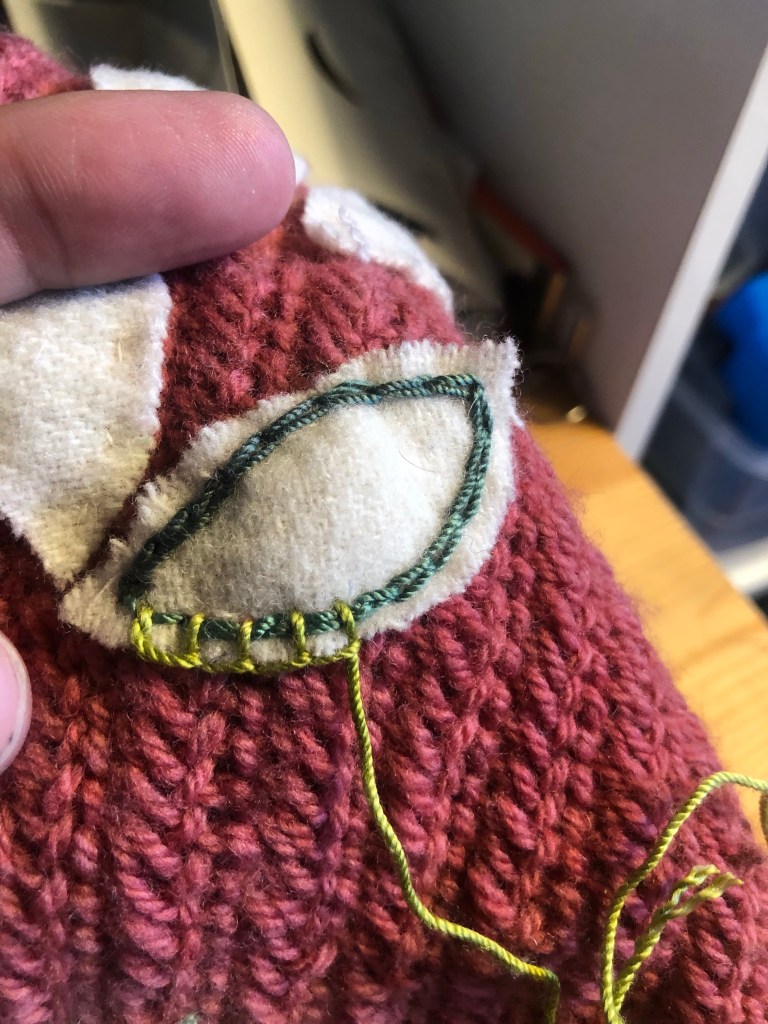
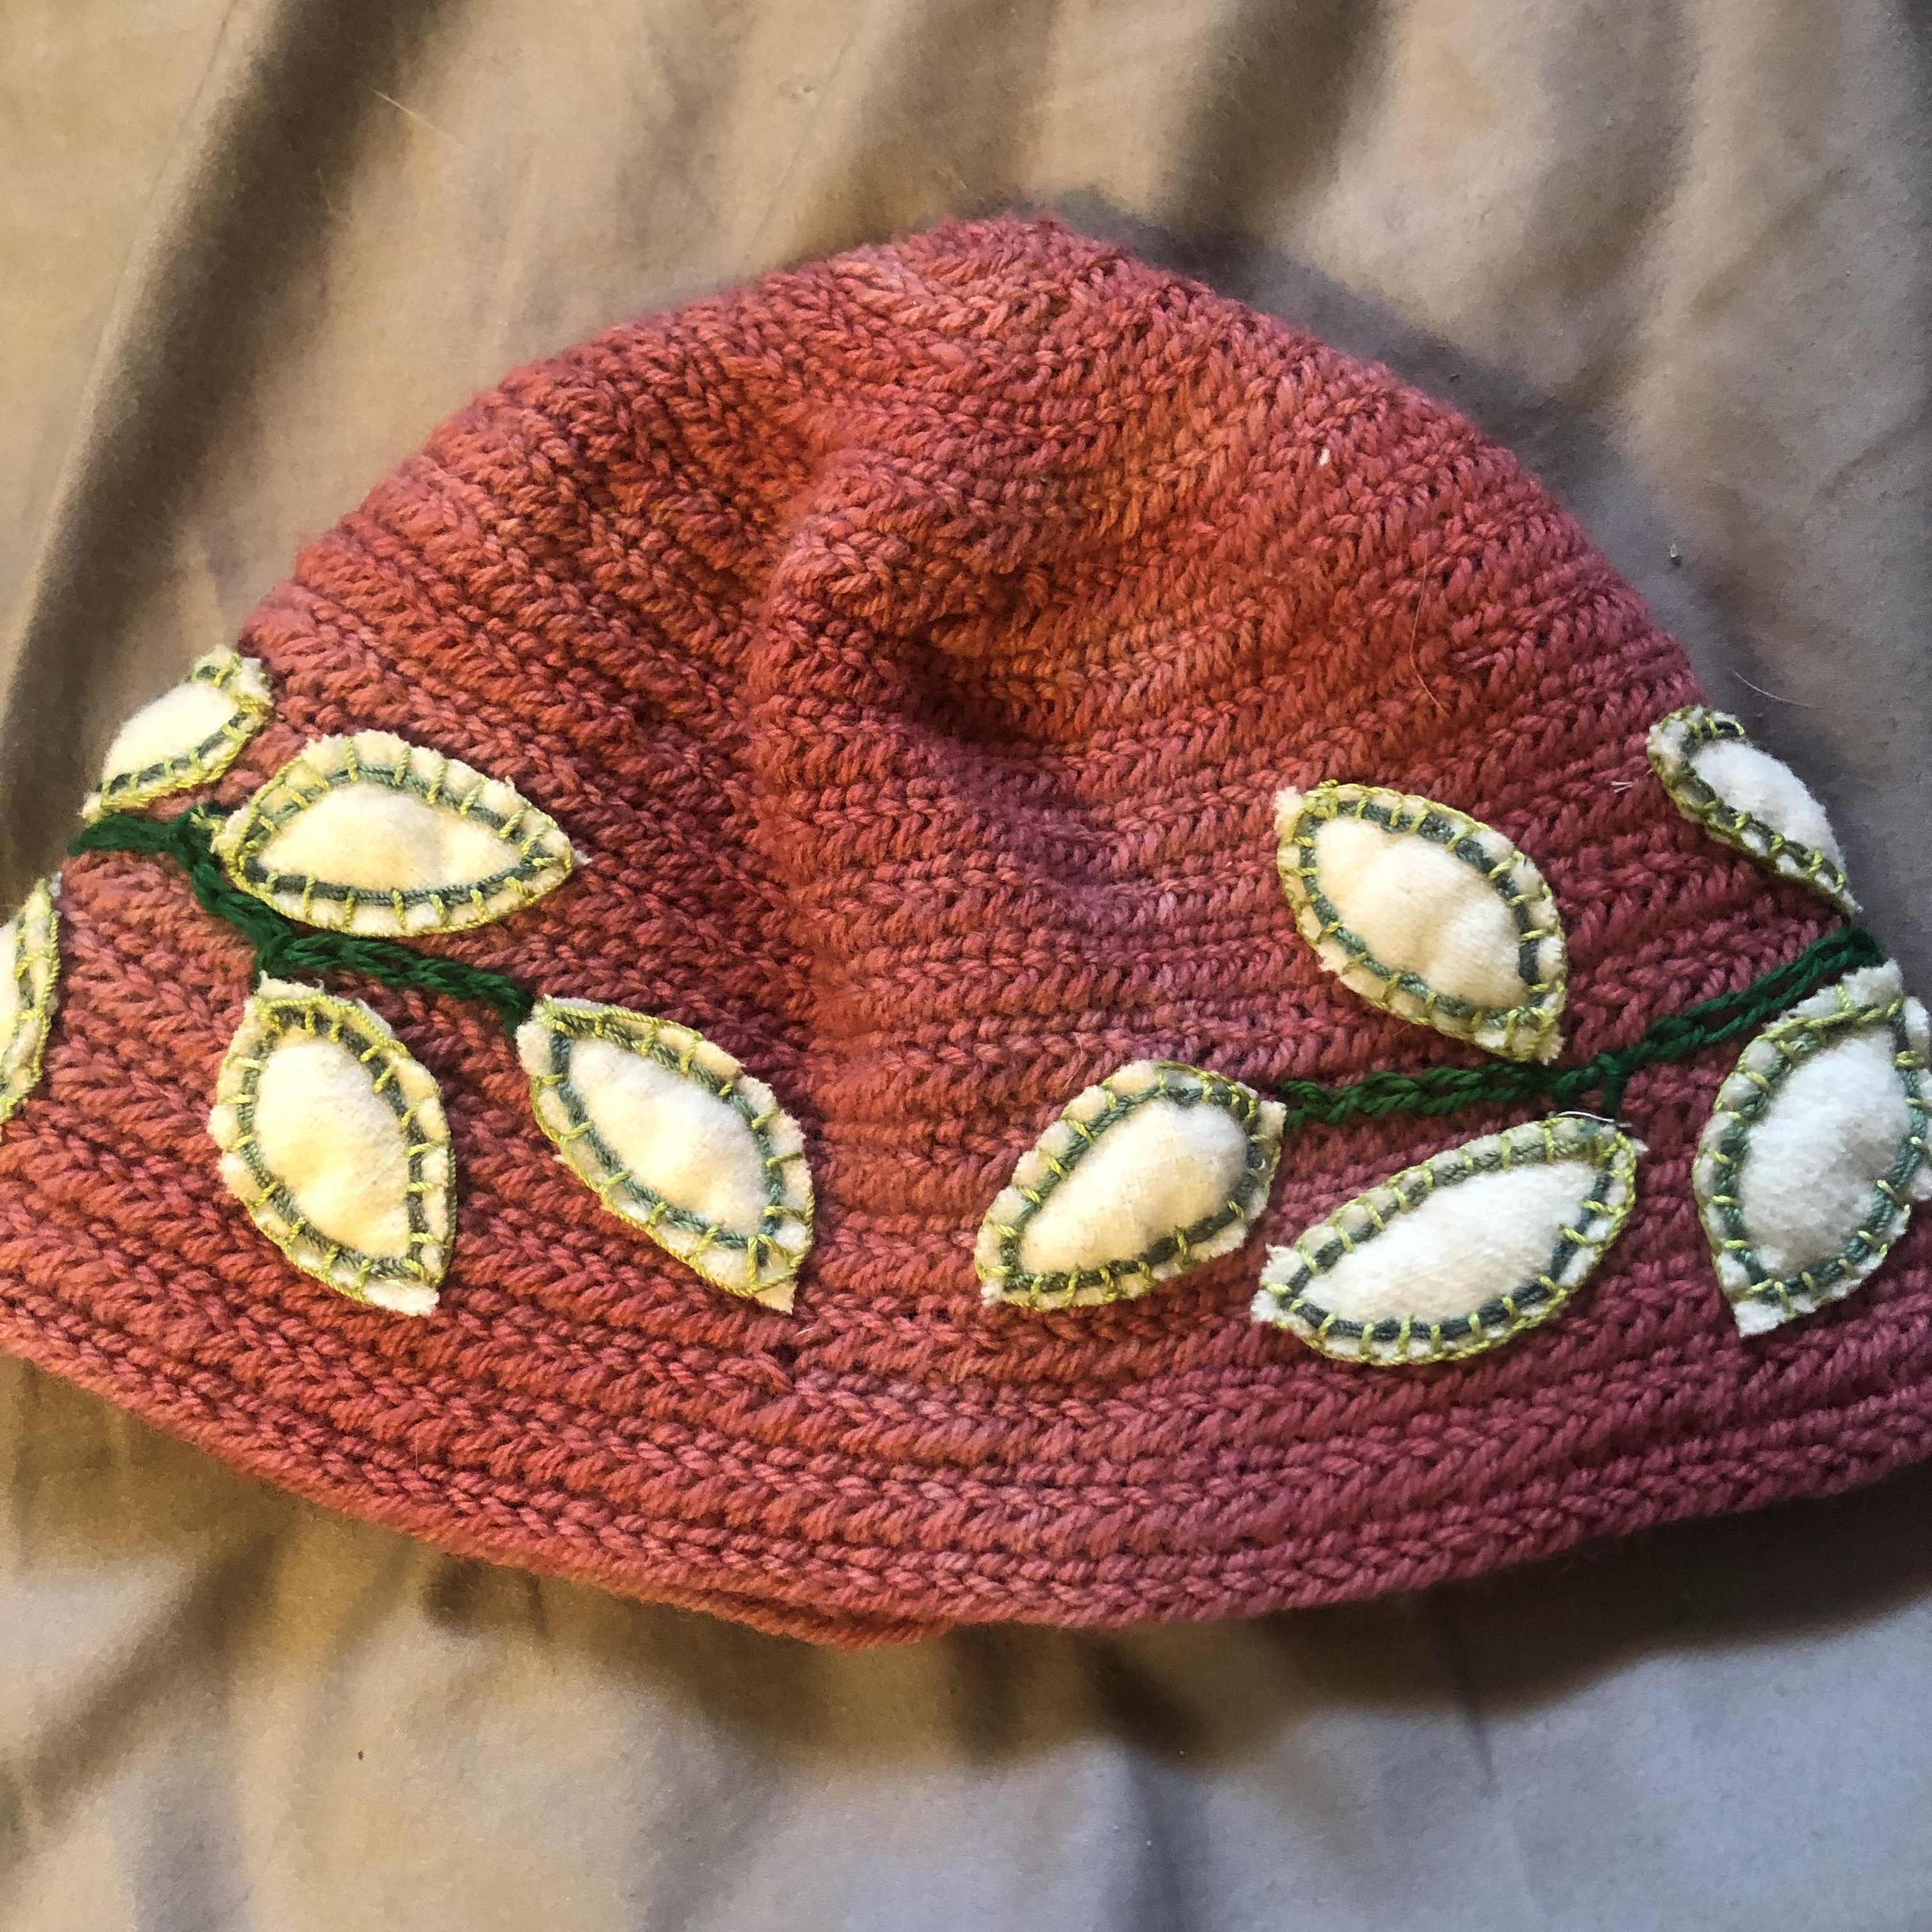
Success!
In the first two photos above, you can see test runs of the stitch, eventually changed, as well as the loose basting stitches that I needed to have in order to test out placement of the leaves. My phone has a good amount of photos of different stitches, of diagrams, and a text thread where I’m probably coming off as increasingly frustrated. (I wanted to be honest about this process! Not everything comes easily/happens smoothly/and I’m stubborn, okay?)
We ended up settling on having two colors, and then finally on the layout of the third image age. Above, I mentioned the fact that a thin thread for the nalbinding means you have a loose weave. This is a problem when you reach this point, because you don’t have the structure of a fabric to securely bind the embroidery against, so a tight, neat, stitch is harder to do. The two colors with different stitches ended up being the best way to get around this problem. The chain stitch alone wasn’t enough to hold the leaves down – I couldn’t get close enough to the edge to make it look neat – and really, we needed something to account for the fact that the leaves were a bit chewed up. So a blanket stitch in a lighter green was the way to go. The final result looks like it was actually meant to be that way. Which, all things considered, is the best thing.
Here, I was ready to be done. It was due in like 36 hours, and there had been so many changes. I was tired. But when four different laurels (I love and hate you all. As you all know) say that you need to add a bit more, and it needs something to tie it all together (much like a certain rug and a room)… well… Time to go back and do that embroidery.


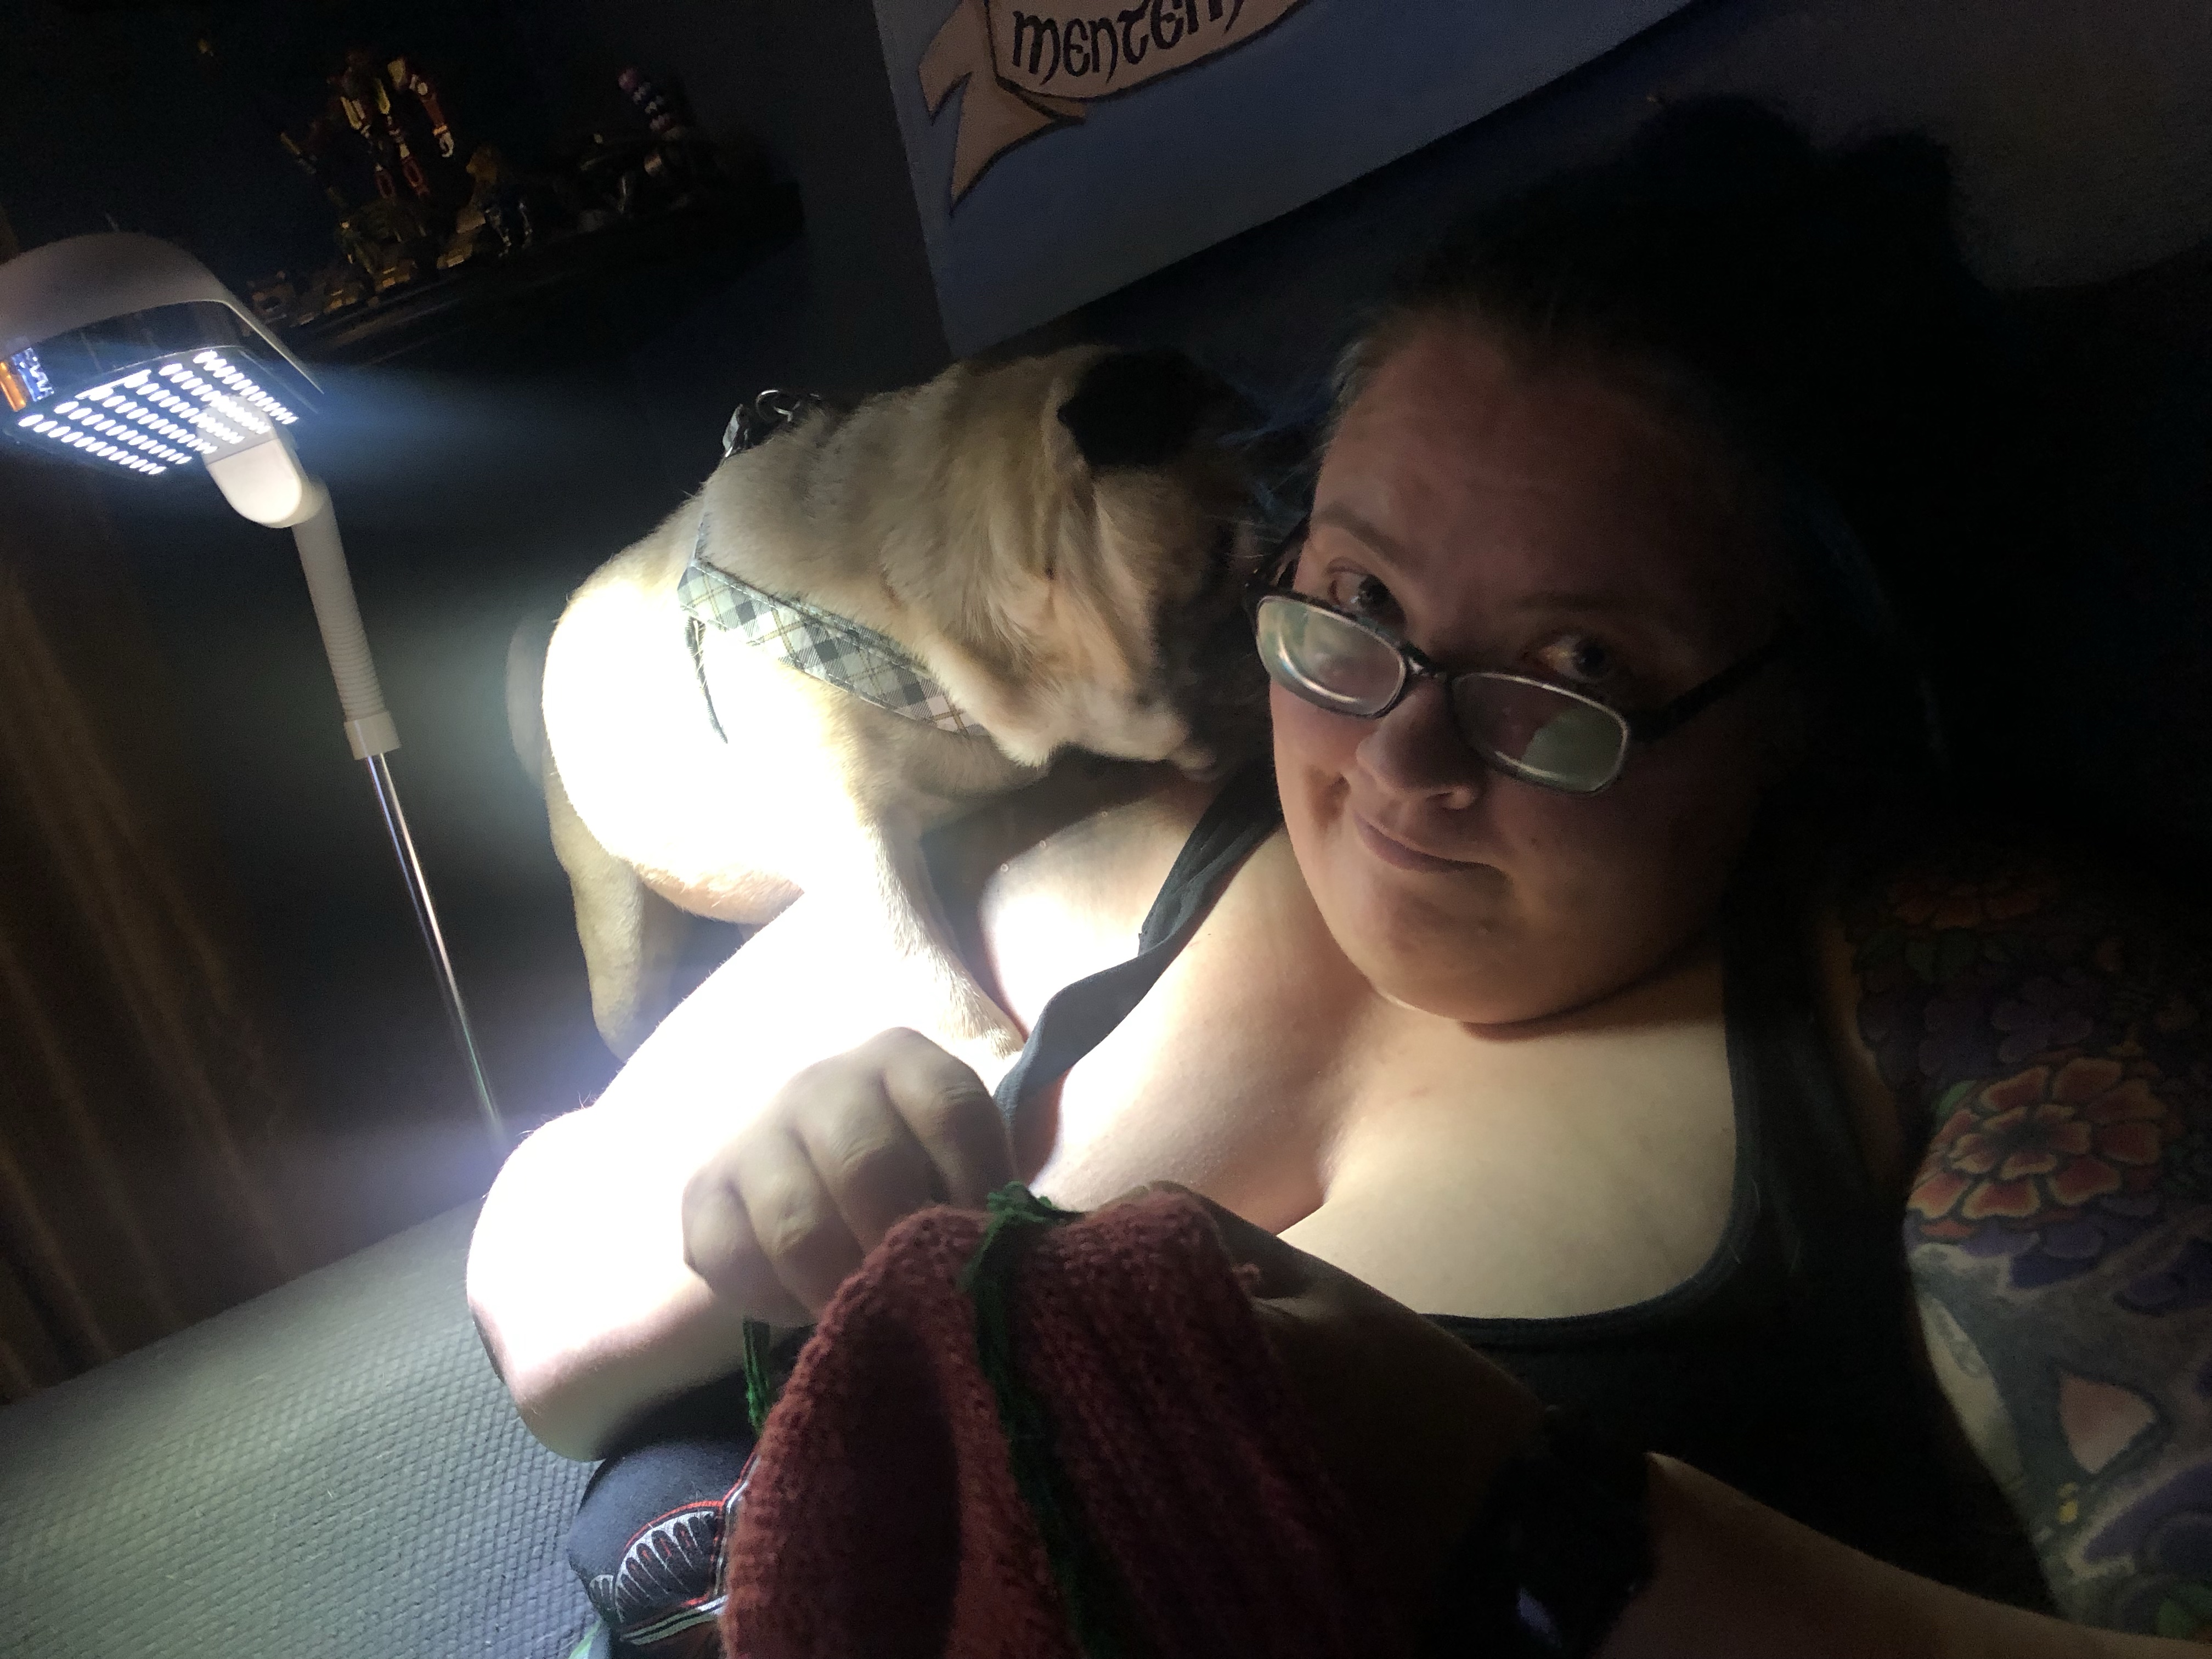
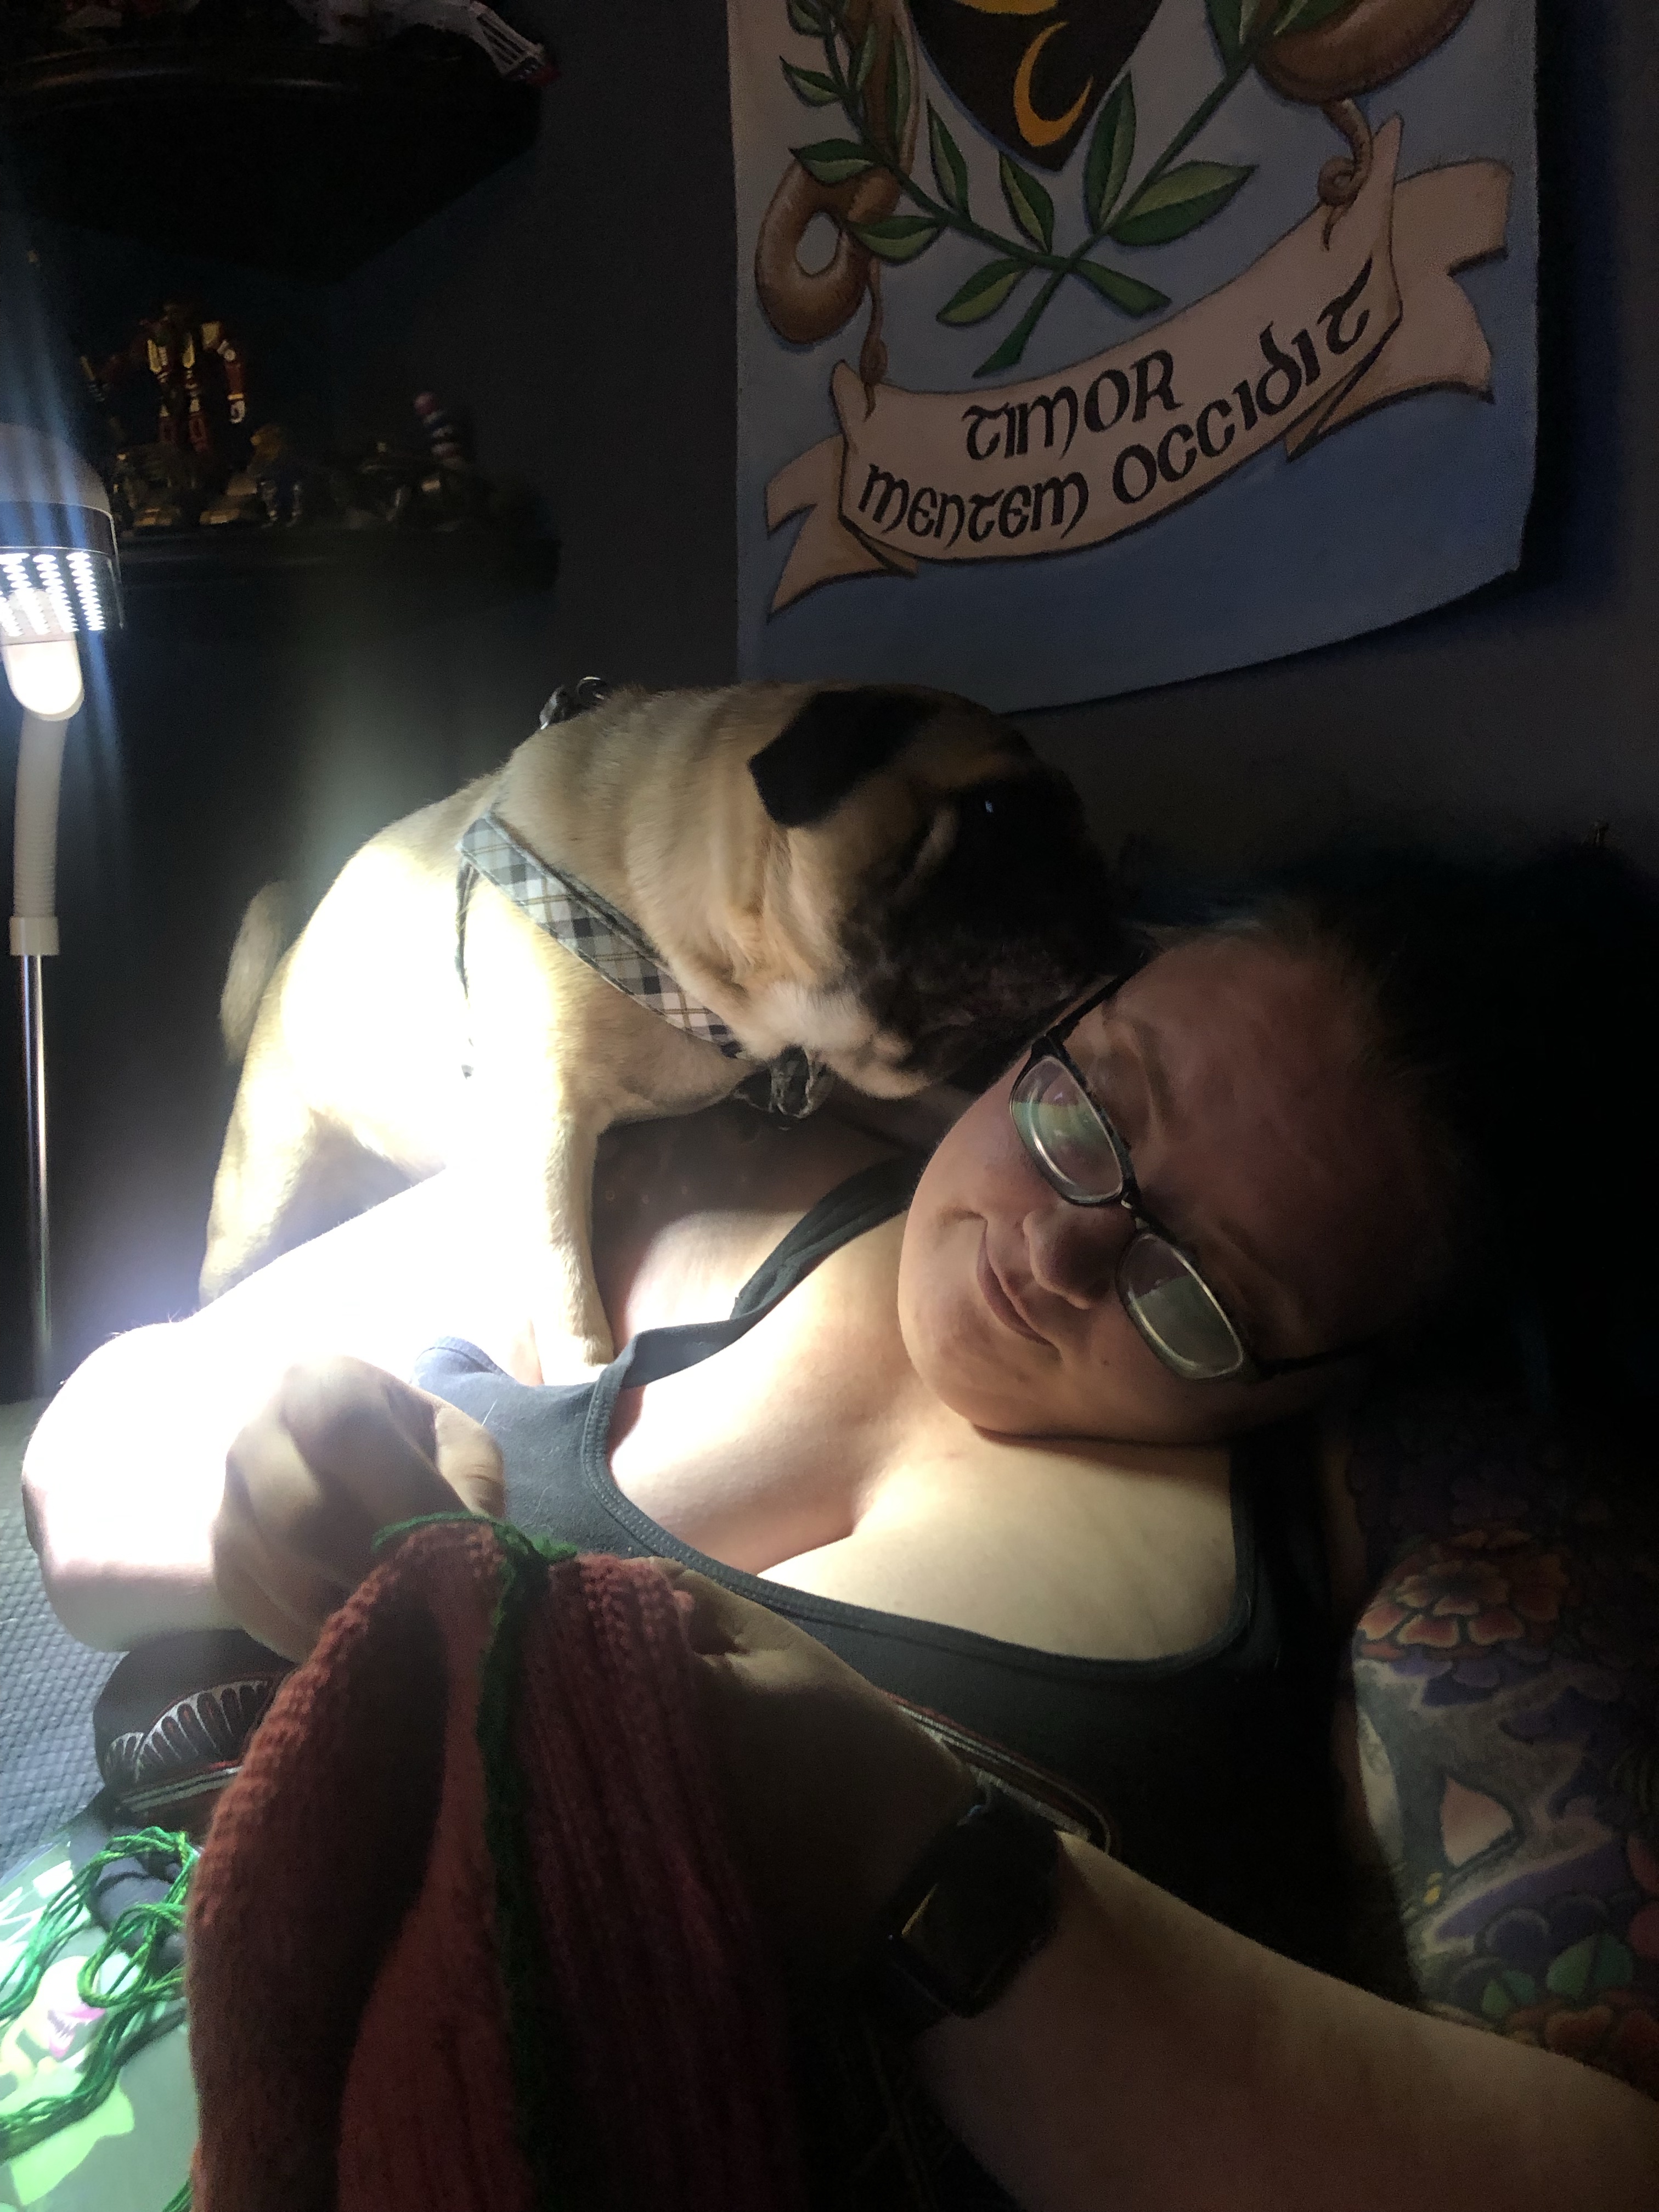
Everything that comes out of this house is pug approved. 
The butterball was very helpful.